

Alexander Grabovetskiy, woodcarver, School of Woodcarving · Published 2022
Can you copy a Grinling Gibbons carving exactly?
Quick answer: Copying a Grinling Gibbons carving is keeping what makes the design his and changing what your tools cannot follow. In Maine we kept his two layers and his one main element, and planned to simplify some parsley leaves and tulips. By class 15 I put our panel at about 80% authentic.
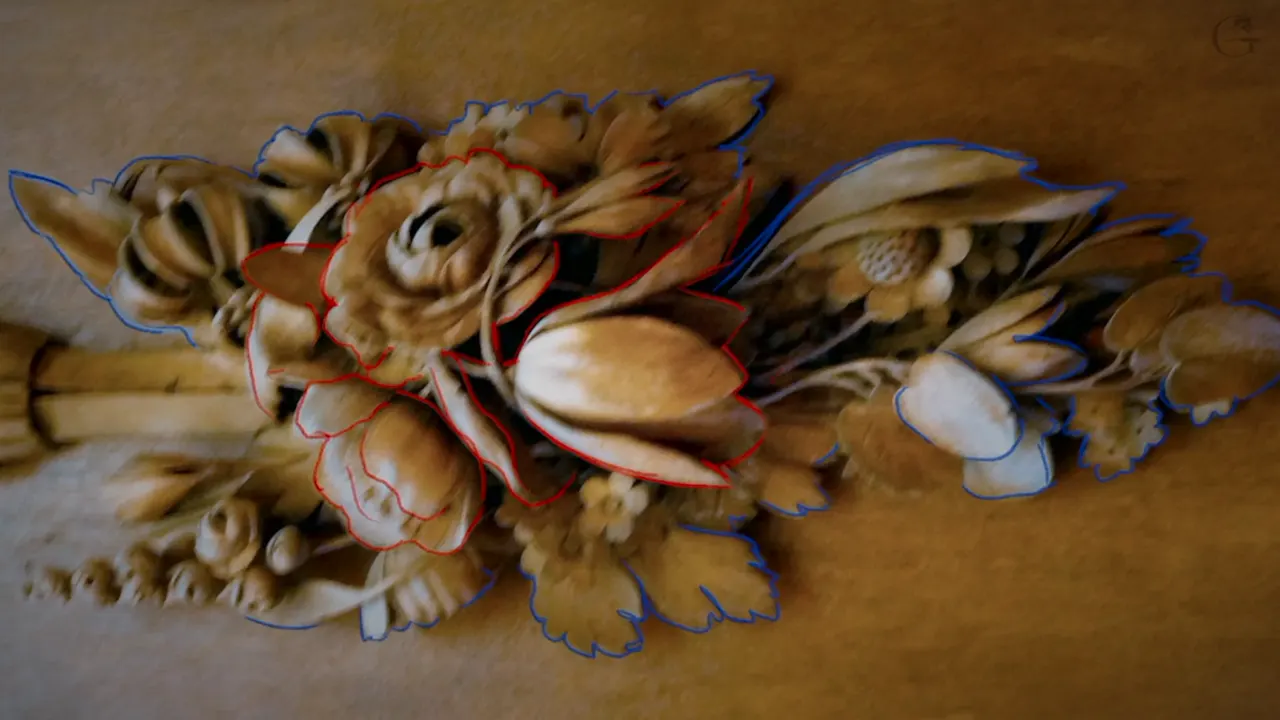
Copying a Gibbons design is reading his work first and keeping its bones. On the first day of my Maine course we sorted out the layers he used and the one element he built the panel around. Then I said some of his parsley and tulips would get simplified, because our tools have limits.
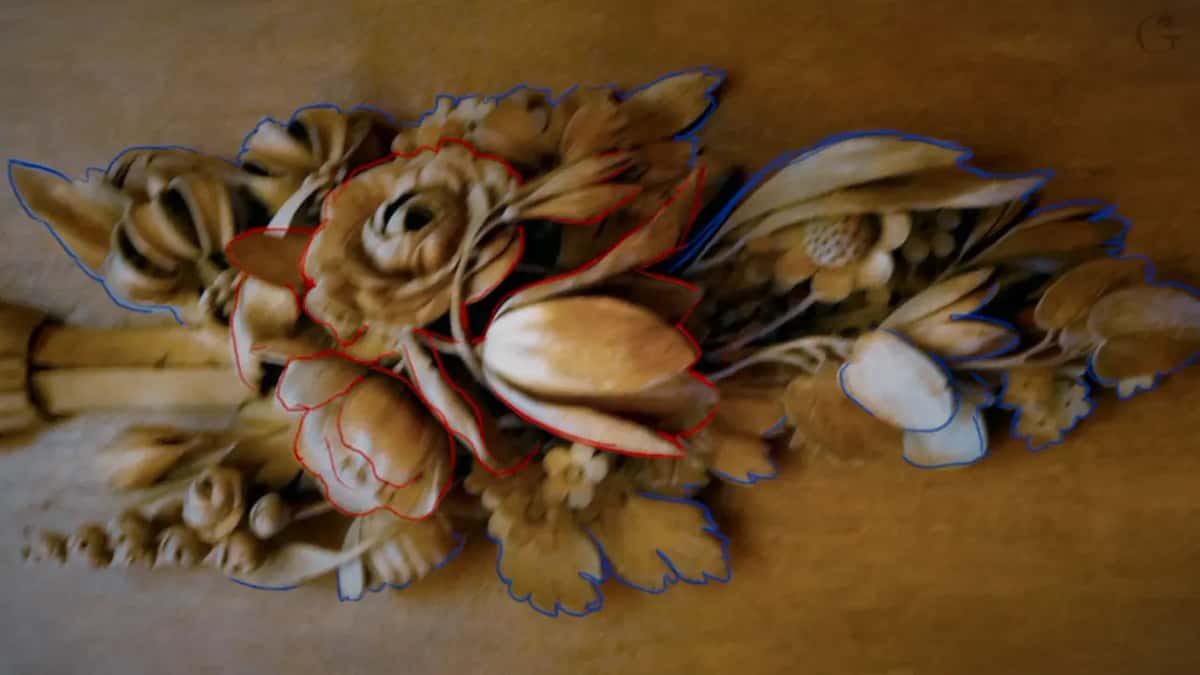
Would you like your copy to read as his from across a room? And would you like it to look like one carving when somebody walks around to the side? Then start where we started, with a sheet of plastic, two markers and his picture.
The class in Maine chose this project themselves. So right at the start I told them, if somebody is going to cry and say it's too hard, it's not up to me. You chose the project, and that's what we're going to work on.
You will see what stayed his, what changed later, and why.
What stays his when you copy Grinling Gibbons
- The layers stay his. I sorted his design with the class into an upper layer and a lower one, plus a separate board for the background.
- One element carries the panel. The rest supports it.
- Some parsley and a few tulips get simplified to suit our tools.
- Stock was two pieces of 2 inch wood, about 50 mm, and one piece of 1 inch, about 25 mm, for the background.
- In class 15 I called our panel semi original, about 80% authentic to his work.
- His background was oak, from the books I've read. Mine got walnut.

Can a copy of his work ever be exact?
Not to the last petal. I said it in class 10, at a spot where I couldn't undercut any more than I already had. It's not the end of the world, I said. If you break something, you always have an excuse to change the design. That's why I like to work on original pieces versus a replica, because a replica has to be super accurate. With the original you have some flexibility.
Class 15 is where I called the panel semi original. We had made it wider and made some changes, but overall, let's say 80%, it was still authentic to the original Grinling Gibbons work. One flower there looked just too childish to me, so I went off the original and developed something else.
So no, not exactly. You keep what makes it his. You change what your tools won't allow, and sometimes what you just don't like.
Wikipedia calls Gibbons an Anglo-Dutch sculptor and wood carver. It lists his work at St Paul's Cathedral, Hampton Court Palace and Petworth House, among other places, and the V&A has a collections page on him. You can go to those palaces in England and look for yourself, I said in class 11.
What did we copy from his design in the first class?
His layers, before anything else. Together with the class I divided his design, just to figure out what layers he used, and I could see he used two layers, pretty much. Obviously there's a background too.
Two marker colors do the sorting. Blue for everything on the lower layer, red for everything on the upper. I asked for a Sharpie or two in different colors and used just those two, so nobody would mix them up.
Then we went shape by shape. That flower, upper layer. One part I couldn't even name yet, but it was still upper layer. Once I said upper when I meant lower, and I fixed it on the spot. No, lower layer, I'm sorry.
Everything left over went blue. The majority of carving is done on that first layer, the lower one.

I like the plastic for one reason. Say the design in front of you has a mirrored half in it. Draw one side, turn the sheet over, and the other side is already there in the correct direction, matched perfectly, with nothing drawn twice.
Then write the actual words on the sheets. Upper on one, lower on the other. Color alone isn't enough, because I've seen people make the mistake. They place the sheet upside down, and when they trace it, it goes on the wrong way.

Why simplify his parsley and tulips?
The tools decide it. In that first hour I looked over his picture and named what I saw. He's got a couple of parsley leaves. There's some tulip going on, then another tulip, and another one right there.
Those, I told the room, we're probably going to simplify slightly later on, just because of the limitation of the tools we have. Slightly is the word I used.
One parsley leaf gets worked in detail in class 14, so I won't repeat it here.
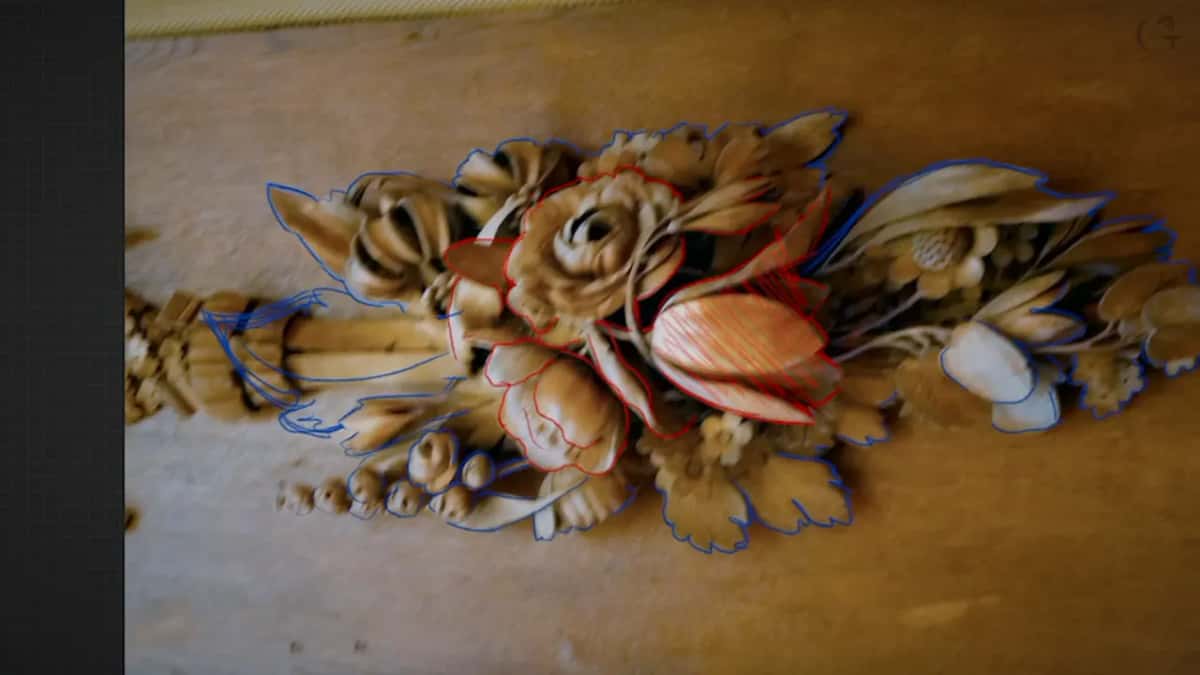
Should you follow the original or express yourself?
Follow it, at first. On day one a student asked if I wanted everybody to just express themselves. Oh, no, no, no, no, I said. Don't do that.
Twelve classes later, in class 13, I said something that sounds like the opposite. Working on one flower, I said you don't really have to replicate exactly every movement, or every concave and convex. Just get the overall idea of how the petal is supposed to look. That's one area where you can be creative. Some art schools say express yourself, and I don't say that in every field of art, but in flowers you could do that.
Class 15 went further. Even if you're trying to replicate original work, you can still express yourself, add some more details, and maybe even make it a little better.
Both lines stand. One was said over the layout on day one. The other came twelve classes later, over the petals of one flower.

Why does the panel need one main element?
One element carries the panel and the rest works for it. On his picture the main guy is right there, and everything else supports it. It's a golden ratio, I said.
That rule stopped me in the very first hour. We came to one part of his design, and I asked the room if we were going to use it or not. Probably something else, I said, because I didn't want it to look dumb right there, so we'd put some kind of leaf there. A few seconds later I said no, then we're going to break the idea of the design.
There's supposed to be only one main guy. A whole course on the principles of design covers more of that.

Do the two layers sit the way his did?
Not quite. This is one place where we go our own way.
A student asked on the first day if the upper layer would have a flat side, sitting on a flat spot on the bottom layer. No, no, I said, it's going to go all linked together, so from the side it won't look dumb. Then I added that, actually, most of the stuff he did, he did that way, the way the student just said.
I came back to it in class 10. From the side, I said, not always, but in his earlier works, the original work of Grinling Gibbons looks just like two pancakes, one on top of the other.
So we wrap the upper layer around the lower one. Convex goes on the lower layer, and the back of the upper one gets concave, more like concaving from all the sides. People still mix up those two words. Concave is like a cave, it goes down. Convex goes up.

What changed between his panel and ours?
All of these are on the video.
| Part of his design | What happened to it on my panel | Where I said so |
|---|---|---|
| His two layers | Kept, and sorted into upper and lower with red and blue | First part of class 1 |
| Parsley and some tulips | Named as ones to simplify slightly, to suit the tools we had | Same first class |
| Width of the panel | Made wider, since we used the whole block we had | Opening of class 12 |
| Small filler flowers | Kept his idea, but carved them a little more elaborate | Start of class 17 |
| One of his flowers | Swapped for a flower in the Venetian style | Further on in class 17 |
| Swirl in one flower | Done his way, though I'm not a big fan of that swirl | Second part of class 17 |
| Oak behind the carving | Replaced with a piece of walnut I had | Class 11, and again in 17 |
Class 12 opens with the width, and I said there that the panel is wider than the original. In the original picture it's narrow and long, but we decided to use the whole block of wood, and the workshop in Maine was able to get us some wider stock.
Back in class 10 I stopped to check the original on my iPad. We did a lot of changes, I said, and I wanted to make sure those changes were not sporadic.

Why is our background walnut and not oak?
Class 10 is where I said what I planned to do. Take those two layers off the background and put on some kind of darker one. That is what Gibbons did, I said. He used limewood for the carving and he used oak for the background.
In class 11 I said I didn't really like the background we'd done in the class. I thought it would not be authentic to Grinling Gibbons. I know what he used from books. Nobody had a chance to talk to the guy, but I've got multiple books about him, some of them antique, and the authors mostly agree. His stuff sits on a darker oak.
Maybe I have oak somewhere in my shop, but I didn't want to dig for it. I had a piece of walnut, and it still gives a darker background. By class 17 I said it again. He would use oak, English brown oak, for the background, and the walnut gives that contrast and exaggerates all of the excavated areas.

Which gouge starts the copy?
A big one. The bigger tool you have, it's always, always better. The first tool I picked up was a number 9, three quarters of an inch, I said, and then I corrected myself. Not really three quarters of an inch, 20 millimeters.
If you've never used the tools, watch the hand on the blade. Left hand if you're right handed, right hand if you're left handed, and it has to sit as close as possible to the edge of the blade.
Just pushing the tool is the mistake people make, I said. It's no bueno. You use too much force of your body, and you get tired. Let the tool do the work with a slicing cut.
Start the cut on one corner of the edge and finish it on the other, turning the handle through the pass. Less force goes in. More wood comes out.
I don't have to apply any force, I said, and you could see how clean that cut was. I can carve it one handed with that. But again, the rotation is the key. Even when I go fast, every cut I make still has the slicing motion. Every cut.

Why do the legs on the blank stay untouched?
Flipping the panel over needs something to clamp, and those tabs are it. We're not going to touch those legs till the very end, I said, and the handle is untouchable too. Exactly the same goes for the upper layer. If you want to write that down, put it as untouchable. Or say, don't even think about it.
Once the upper part is carved and it's time for the undercutting, we flip the piece. It stays on those legs, and we can attack from the back side.
Same care on the vise. Please don't squeeze it too hard. It's not going to walk away, so just enough pressure. Press too hard and you can break some of the legs, and later on you'll need them.

Which spots stay high on the lower layer?
Two of them. I took a pencil for this one, not a marker, and the tracing tells you where they go. Looking at the picture, one spot is where part of a flower will fall, and we'll glue some of it there, not the full body of the flower. The other is for the main one, that tulip.
I laid my plastic on, and I was pretty much right on the spot both times. Those are the highest spots. Everything outside those two islands comes down. Everything inside them waits.
For now we don't go all the way down. I keep about 7/8 of an inch to one inch there, 22 to 25 mm, and that lower part stays untouchable for now. Later on we go deeper.
The surface that comes down is convex, not flat. From the high spots it has to be a true convex movement, not a straight line down, otherwise it looks dumb. Just feel it, like in 3D. We're creating pretty much a dome.

If that first hour makes sense to you, the way in is the tuition page. All eighteen classes of the Gibbons course are inside, and so is the Venetian flowers course, which shows the style of the flower I swapped in.
How it's done
- Sort his design into two layers. Study the original picture and mark each part upper or lower. Blue went on the lower layer and red on the upper.
- Write upper and lower on the sheets. Color alone is not enough. A sheet placed upside down traces the wrong way round.
- Pick out the main guy. There is supposed to be only one main guy, and everything else supports it. One leaf we thought of adding would have broken the idea of the design.
- Name the parts your tools can't follow. I named some parsley and a few tulips that we would simplify slightly later on.
- Leave the legs and the handle alone. Untouchable until the end. The piece rests on them when it gets flipped over for the undercutting later.
- Dome the lower layer with slicing cuts. Keep the two high spots, work from the inside out with a 20 mm number 9, and rotate it through every pass so the surface rolls down like a dome instead of dropping straight.
Frequently asked questions
Do you have to follow a Gibbons design line for line?
Not on every petal. On day one a student asked about just expressing themselves, and I said no, don't do that. Twelve classes on, I said a flower is one place to be creative, as long as you get the general idea of how the petal should look.
Why trace a carving design on plastic sheet?
A plastic sheet can be flipped. Draw one half of a mirrored design, turn the sheet over, and the second half faces the right way. Write upper or lower on each sheet too, since one laid upside down traces backwards.
What gouge do you start a Gibbons panel with?
A number 9, 20 millimeters across. The bigger the tool, the better, I told the class. Keep your guiding hand close to the edge of the blade and rotate the gouge through every pass, so it slices instead of being pushed.
What to carve next