

Alexander Grabovetskiy, woodcarver, School of Woodcarving · Published 2022
What is the eye in acanthus carving?
Quick answer: An acanthus eye is the spot where one leaf meets another, and usually it looks like a drop of water. My eye on this Venetian-style floral panel came first. After it, the pipe got a big convex, since flat looks too dull. The intersection line stayed higher than anything else.
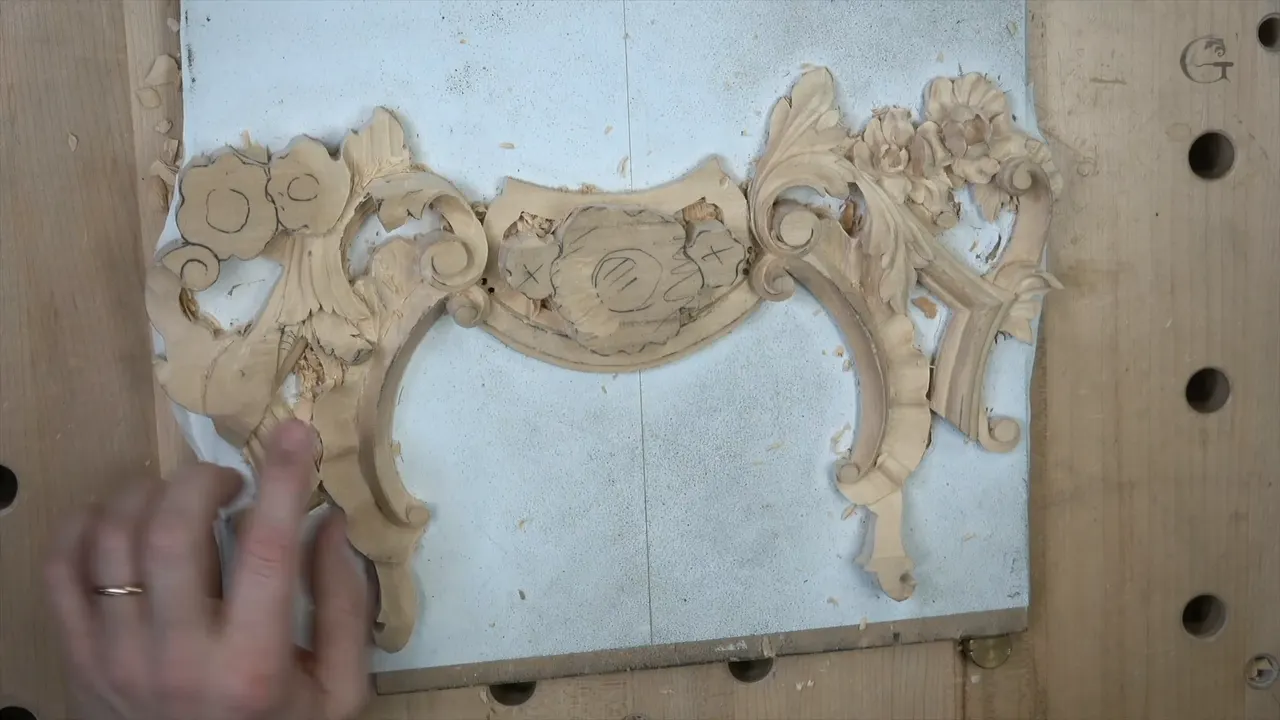
The eye in acanthus carving is the water drop shape at the place where two leaves intersect. I named it that way in lesson 11 of this floral and molding panel, while I worked on one. Because I had that eye, I wanted a big convex pipe going under the flower.
Ever looked at an old carved acanthus leaf and seen a small drop shape where one leaf runs into the next? Did that spot look darker than the leaf around it? We have a name for it. You can carve it on purpose.
Below is what I did on that leaf, in the order I did it, and every tool size is the one I said on camera. When a line comes from another course, I name the course and link it.
The short version of lesson 11
- The eye sits right at the crossing of two leaves, and here it is shaped as a drop.
- With an eye there, the pipe had to be really convex.
- Where two shapes meet, that line stays highest of all.
- I left that pipe without an undercut, because it would not look natural.
- Below that line I undercut in end grain, for a little deeper shadow.
- Cleaning waits until the overall shape is set, and that is just my opinion, so you can do it your way.

Where does the eye sit on this Venetian leaf?
Right at the crossing of the two leaves. Just before it I took a pass that wasn't really deep, maybe about one millimeter (under 1/16 in), and I said that side was really important. Next I blended it, again with a tool I had used earlier.
"So what I'm after, I really want to create the water drop shape right here," I said. "I want to create an eye. That's how it's called, the place where two leaves intersect."

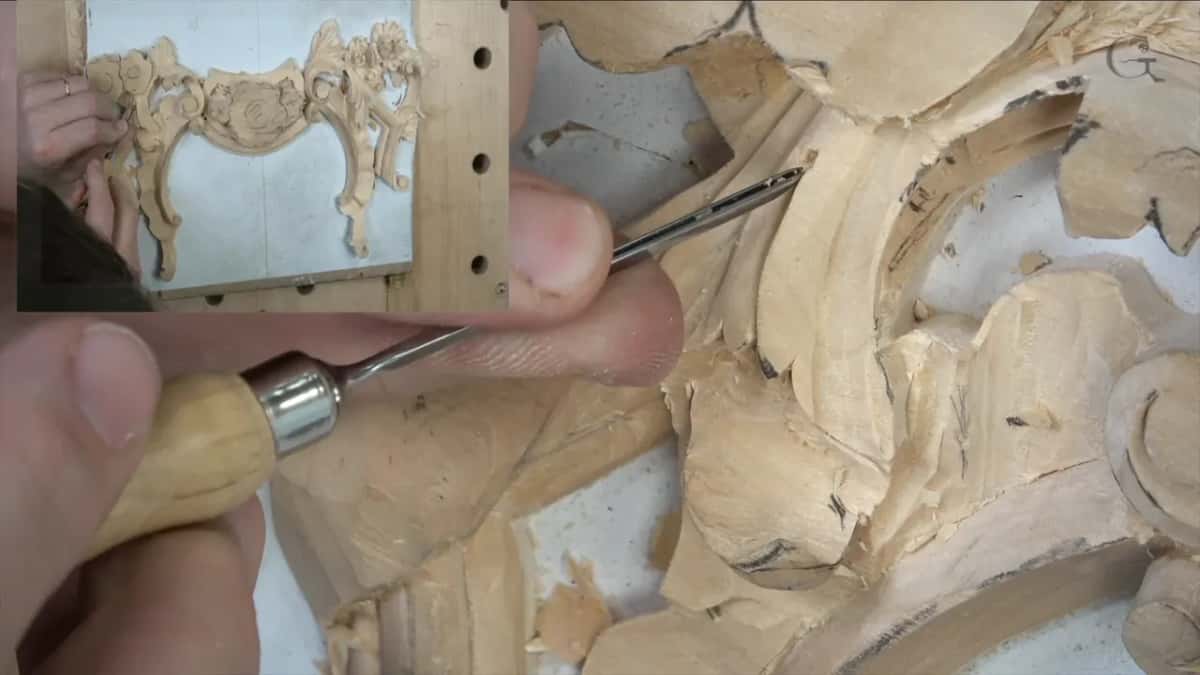
That eye could wait. Partway through the pipe I said the eye was not really nicely looking yet, and what I worried about was the convex. At the start of part 3 I said I would clean that eye a little later. What I could do right away was excavate right inside with the 1 millimeter (about 1/25 in), upside down, and go a little deeper.
Why is it called an eye?
I gave the reason on the Byzantine acanthus, leaf 3. When two leaves meet, we call that spot an eye, just like a human eye. Most of the time it looks like a water drop. The one there was about five millimeters at the most, about 3/16 of an inch. Between those transitions we place another high spot, and that one we call a pipe.

In Venice Room 53 I said the same thing, and I admitted I had said it many times: every eye is supposed to look like a drop of water. Over there a tiny number 11, about 1.5 millimeters (1/16 in), made that shape of a water drop. Before that I went deeper inside with a 3 mm (1/8 in) number nine and a plug cut. It's not necessary, I said, and sometimes you don't even see it on the original acanthus, but it gives me an extra dark spot.
The Greek acanthus, lesson 4, comes at it from another side. The eyes on that leaf reach the background, and each pipe has to go to the center line.
Why does the pipe need a big convex?
Once I had that eye, I wanted the pipe that goes underneath the flower to be a big convex. It's really important for me to have that convex feel. Otherwise it's going to look too dull, and it won't look three-dimensional, if I can say it that way.
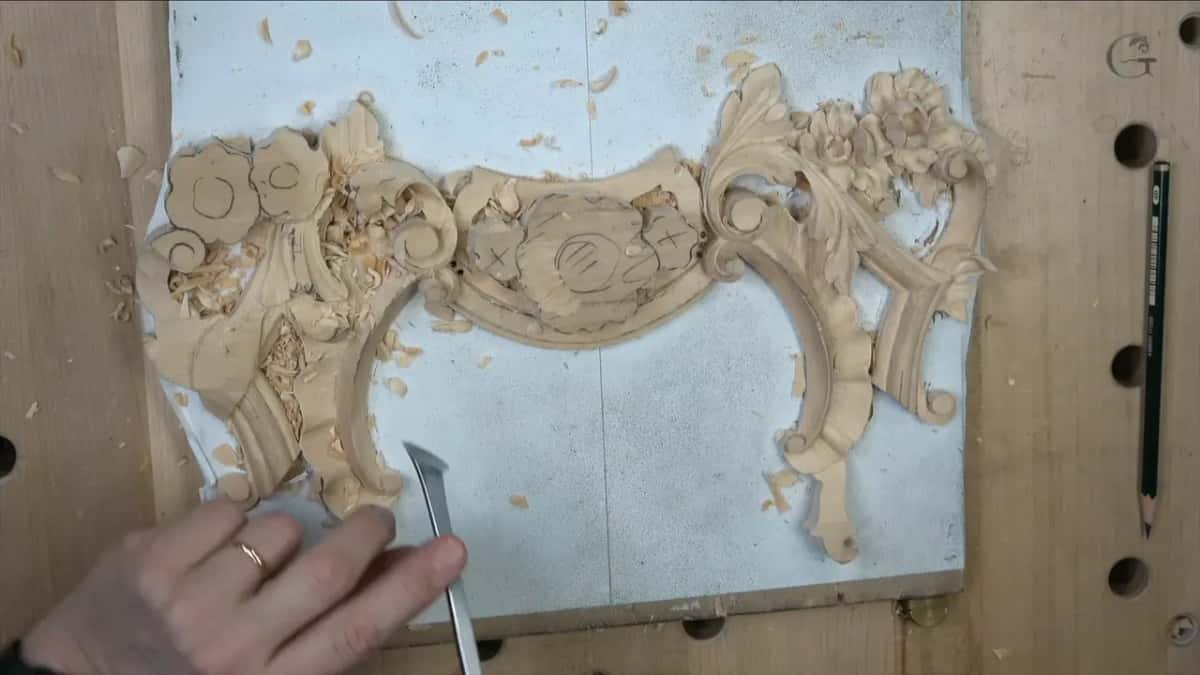
That meant lowering the ridge even lower. Plenty of material was there, so I didn't expect any problem. My point was that one line has to be much higher than the other one, and then I sloped it.
Of course it wraps from underneath. It goes from that part right under, and that made even more sloping. Pencil again, and I drew the overall shape, somewhat refined. My micro pipe is in lesson 9 of this panel, and lesson 6 shapes the acanthus leaf itself.

Which tools sank the hollows beside the pipe?
The separations came first. I drew a little notch, or a separation, I should say, and then another one the other way. One side didn't need a separation, but it could take some kind of S curvature. I wasn't sure. I thought of doing the opposite, then said no and kept it a little different from the other one.
Relieving cuts came next. A number 11, maybe 3 millimeters (1/8 in), relieved those triangles with a straight down cut, of course.

I almost took a quarter inch number nine. Instead I went back to the number 11 at 5 millimeters, 3/16 of an inch. One pass ran along one side, the full length. The other was not as deep, on the other side of my pipe. Anyone who watched my other acanthus and Venetian-style carving videos, I said, probably already knows why.
I went a little deeper in one spot. It would slope nicer and have more 3D movement. Another concave went on the opposite side, shallower, although that one could be a little deeper. After that I had enough material for the convex. "That's going to be my pipe," I said, and I think it will look awesome.
On a furniture panel, lesson 27, the starting point was the same pair: first the eye, like a shape of a water drop, then the pipe, which goes all the way and blends in. Two concaves create that pipe. I grabbed a tiny tool for that eye there, and still said number 11 is always better.
How do you round a pipe once the hollows are in?
Little by little, with chamfer cuts. I reached for a flatter tool, or the same one from earlier. If you have a knife, you can do exactly the same operation with just a knife. You keep making small chamfer cuts until you have the overall shape, on both sides, obviously.
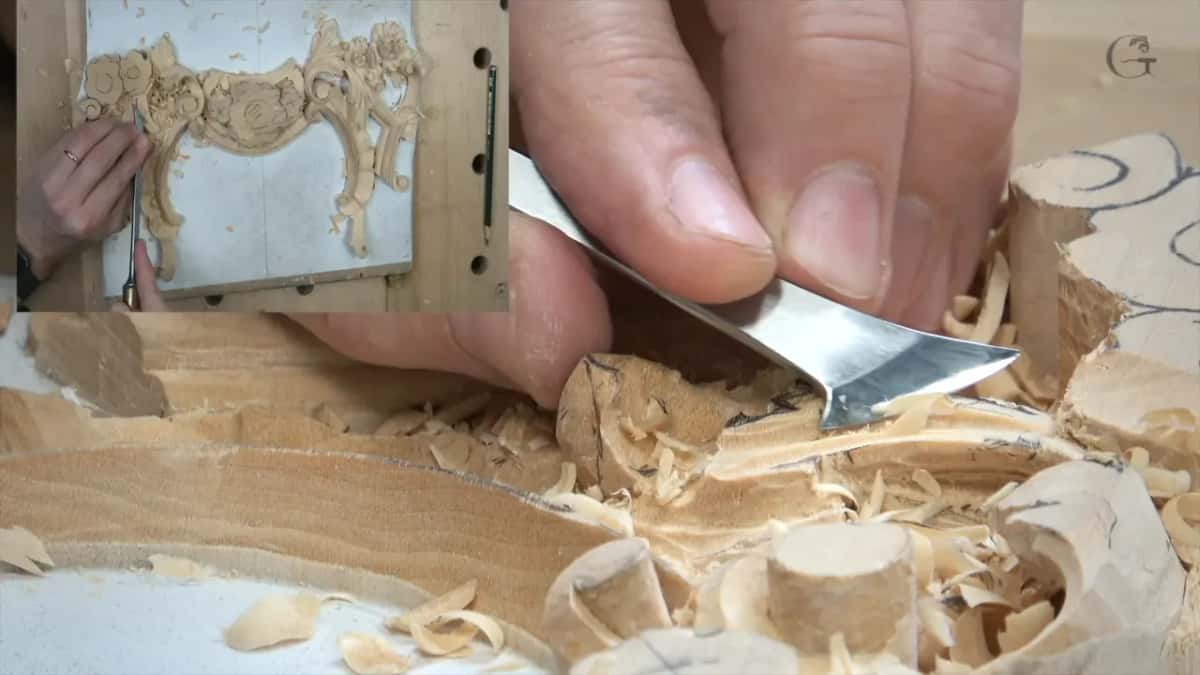
Next came a back bent. I had a raised part there, and for me a straight tool was not convenient. I used a number three back bent, and yeah, it was a much better tool.
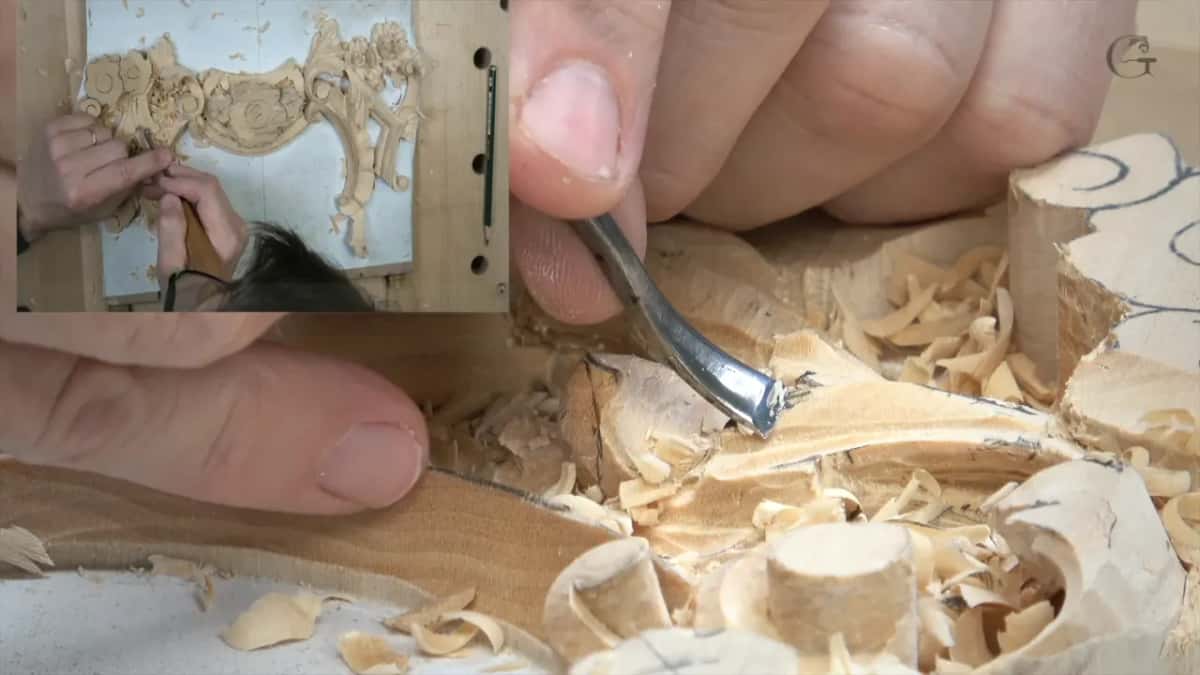
A straight tool would be in my way. With that goose neck I'm not touching that point. So I went a little deeper, because I wanted to see a really nice and beautiful exaggerated pipe, and did the other side the same way.
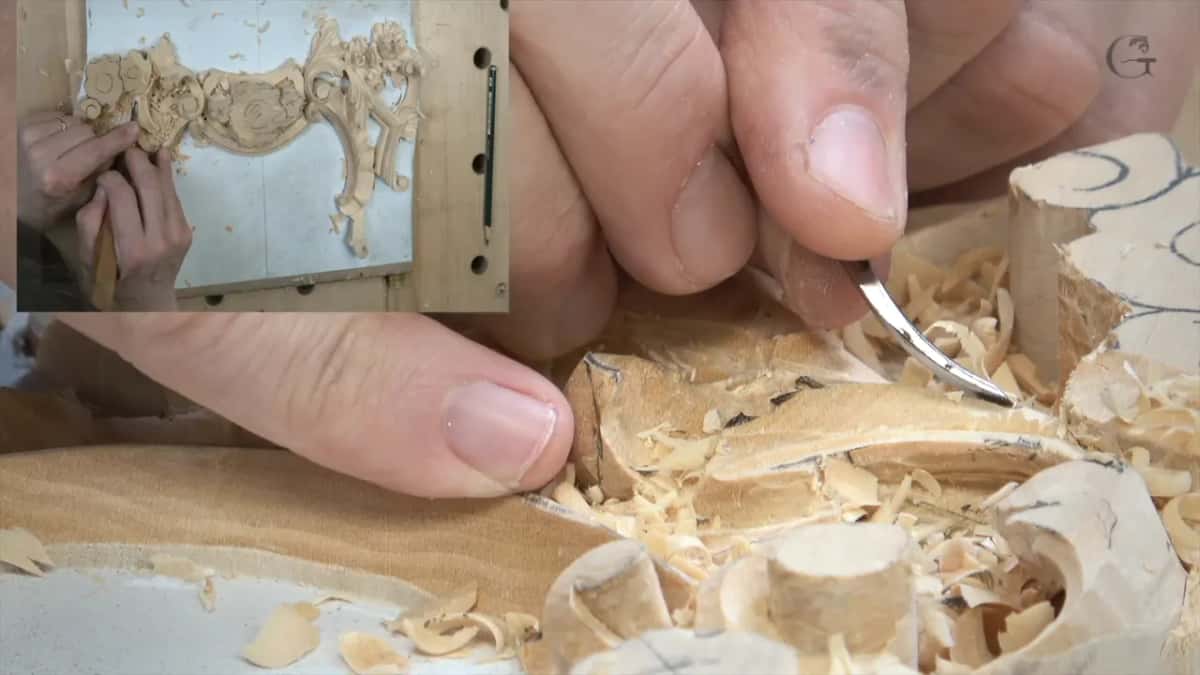
Why not undercut the pipe?
I did not want to undercut underneath of that pipe. It's not going to look natural. So the same number 11, 5 millimeters, cleaned out that section and all that fuss, all that mess, and I blended it.

The other side got the same idea. A flower was in my way, and I didn't want to touch it yet. From above, it didn't look too bad. For the return on a Roman eye, see Roman acanthus, lesson 12.
| Spot on the leaf | What I did there, in my order | Tools I named |
|---|---|---|
| Eye where the leaves cross | Drop shape first, deeper inside later, upside down | 1 mm, the small one |
| Pipe sides | One hollow deeper | A 5 mm (3/16 in) number 11 |
| Top of that pipe | Small chamfers on both sides until it rounded over | Number 3 back bent; a knife works too |
| Below the intersection line | Undercut in end grain, then blended again | Half a millimeter, which is about 1/50 in |
| Curl on the other part | Excavated underneath, then smoothed into one flowing transition | Number nine at 10 mm, then two sevens |
| Close to the molding | Really small bites, never deeper than the molding itself | German 2.5 mm (3/32 in) number 11 |
How high does the intersection line have to stand on this leaf?
Higher than anything else. Like I mentioned before, it cannot go right underneath, because that won't look good.
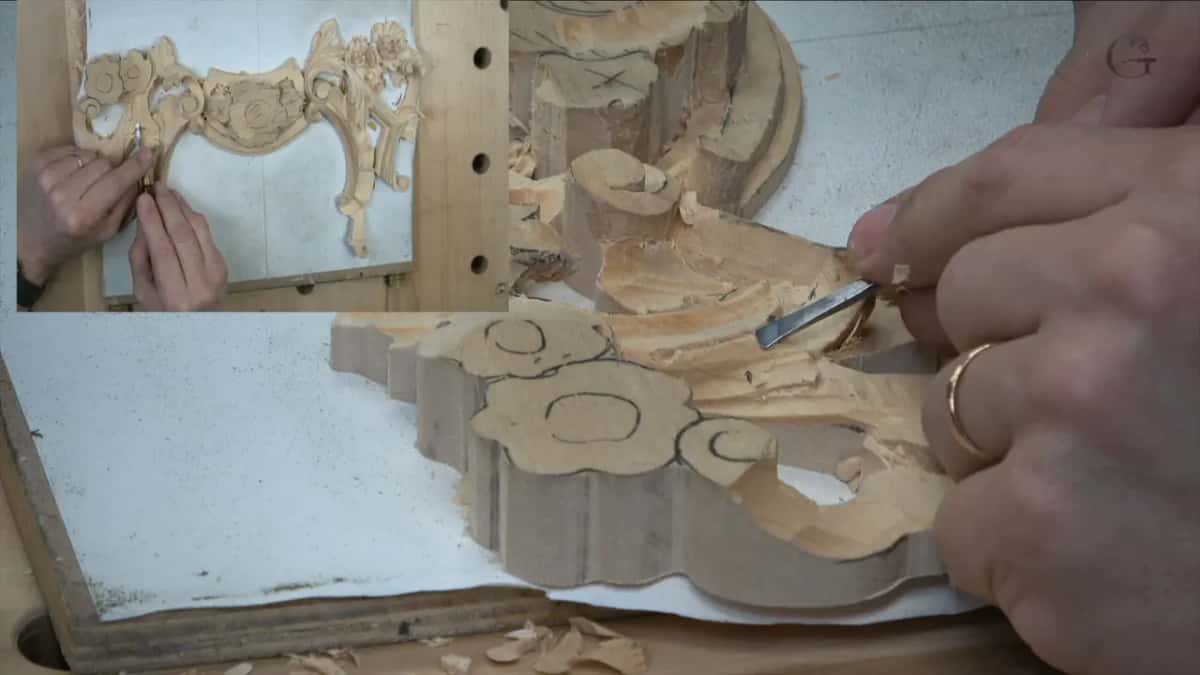
I blended that part first with a small number one, double bevel. I also said I could make that line much sharper and cleaner with the same tool, and could even undercut underneath with the half a millimeter. Maybe I should, I said. Let me do that.
It took a moment, because I forgot where I had put my half a mil. Little by little I undercut it. That is the end grain, and it's not too convenient to undercut, but it should be okay, I said. It made a little deeper shadow.
Because I held the tool inward and went deeper, the line was already lower right underneath than right beside it. I blended it again with my little number one. You probably don't see that much, but I really like to bring that all the way to my undercut. Lesson 5 carves one shape passing under another on this same panel.
How does the curl roll back on itself?
It curls up from below and then rolls backward, and in part 1 I shaped it in a few steps. It has a really interesting movement, and I had to excavate underneath it so it curls uphill. I attacked that side with a number nine, 10 millimeters (3/8 in). It wasn't really convenient for me, and sometimes I really have to attack from a wrong position, if you wish.
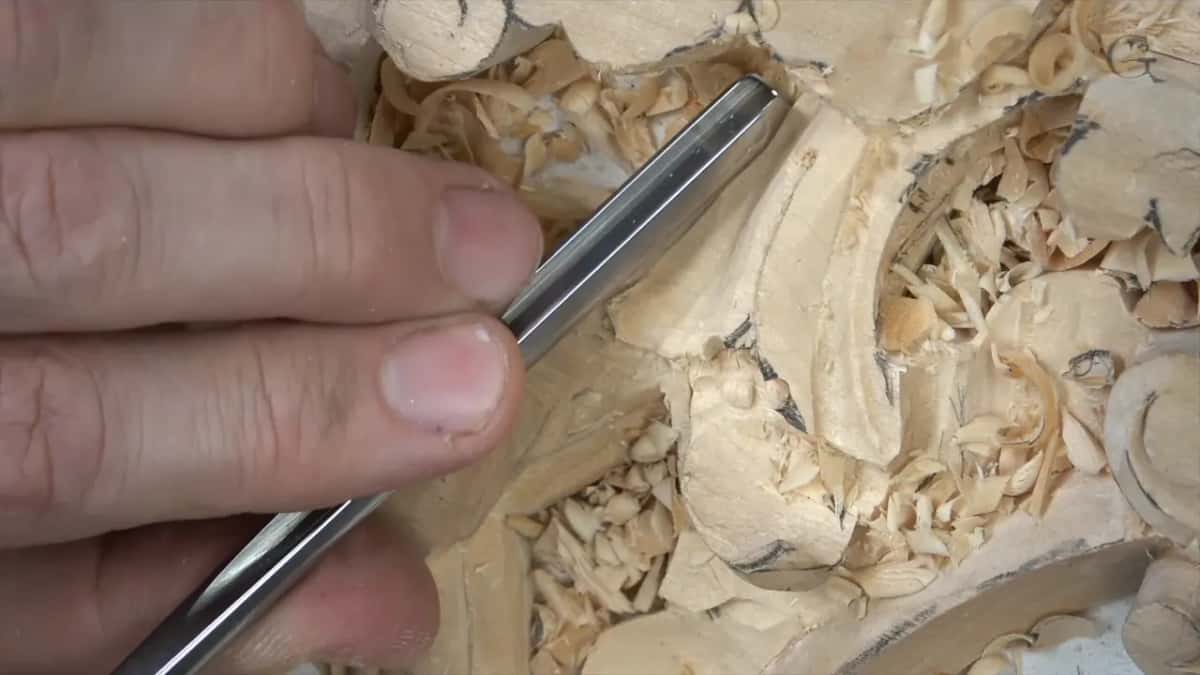
For me it's important to keep that part higher. From the side it looked a little too straight, and I really don't like it. That called for the big number seven, like an inch and one-eighth or so (about 28 mm), and a really smooth, flowing transition. That was just a preliminary pass. Final-final comes later.
Another number seven, 14 millimeters, about half an inch, made a much better shape. It has to roll backward, so a smaller tool helps.
Which tiny tool does nobody make now?
My 1 millimeter, the small one, really, really tiny. Part 1 opens with it. That one I really like. It's one of my new toys, and nobody's actually making it nowadays.

That was one of the ideas. I was trying to get my own line, but because of what was going on in Russia and Ukraine then, I couldn't do that. Hopefully, I said, it's going to change.
With that small tool I excavated right underneath, and it made a really, really deep shadow. A small number three spoon cleaned up after it. Unfortunately, you don't see what I'm doing underneath, I said, and I was making a really smooth transition downhill.
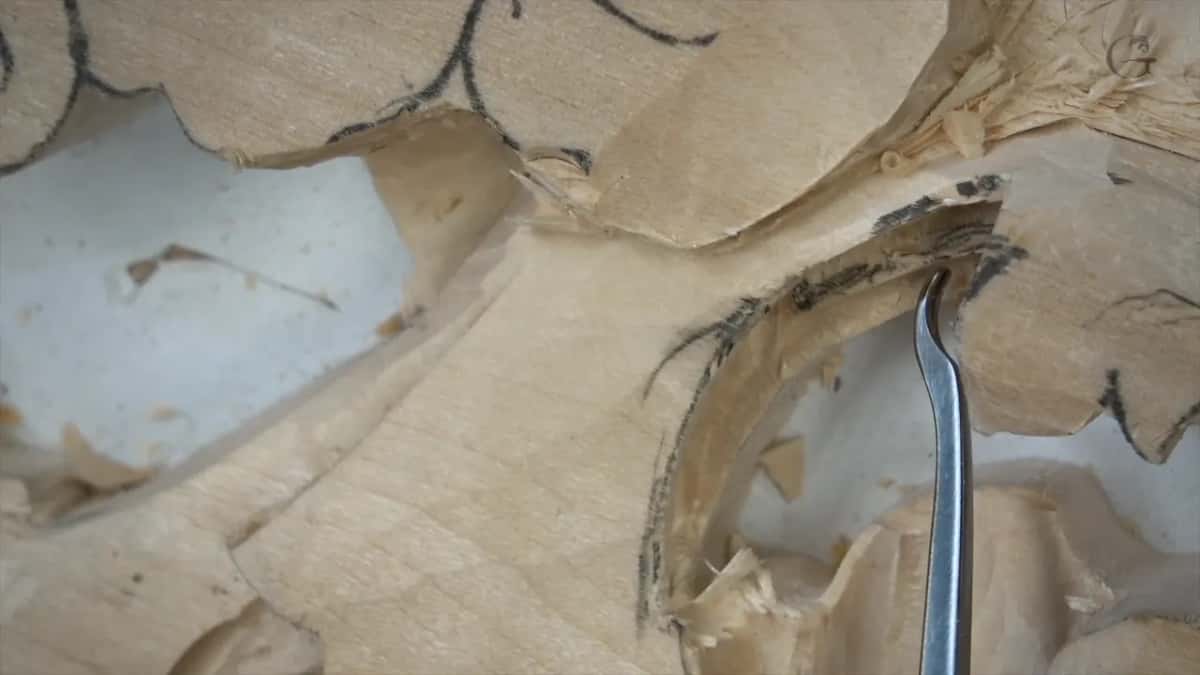
In part 3 I said it plainly. It doesn't have to be that small, and a normal 1 millimeter would do in that spot, but I like to use that brand-new toy. It gave me more shadow, and with the same tool I undercut underneath those two guys. I can go as deep as I want to, but I'm just after shadow.
Why take small bites near the molding?
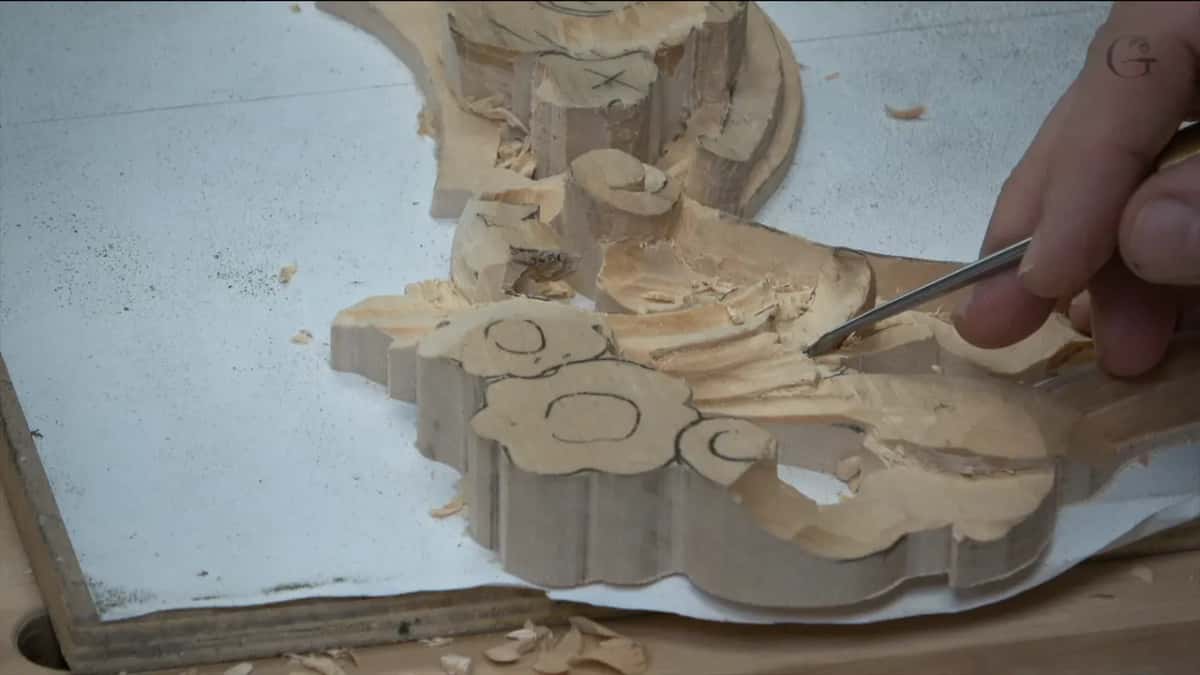
There is a molding right there, so I have to be really, really mindful. I don't want to go deeper than that molding. A leaf grows from underneath, and that part of the molding is going to be rounded, so I can't go too deep.

The tool was a small number 11, maybe 2 millimeters, or 2.5. In this case it was a 2.5 millimeter (3/32 in) German tool, and I like that brand, really like it. You almost can't find it.
So I made a small preliminary cut. That leaf grows from underneath and goes right on top of my acanthus. Small bites, really small bites. That's the way I know how to do it.

My picture-in-picture was covering it for a moment, sorry. A shell goes there too. I didn't show how to carve it, since I showed that on the other side, and that acanthus movement goes over the shell. The cleaning there waits for the shell, off camera.
Is a smooth undercut better than a sharp one?
For me, yes. I really like to use a number 11 or a number nine that creates a smoother transition underneath. I don't like to see always just a sharp undercut or a sharp point. I think smoother gives better shadow.
Before that I had to lower one part, because it has to be exactly the same level with this side. I thought of a number five spoon, or even a seven. No, that's not going to work, I said, and took the number five spoon, only 4 millimeters (5/32 in) or so.
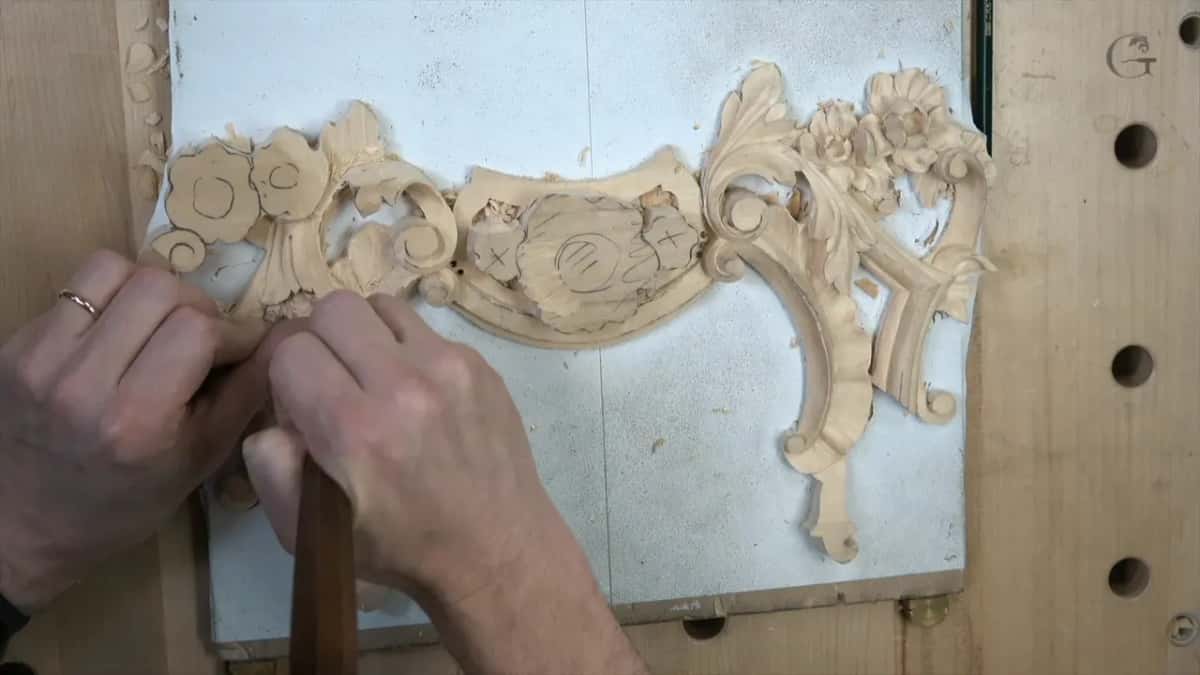
Then my number one again, undercutting right away. I'm not pushing my tool, I said. I'm still slicing it, the same slicing as in lesson 1. I had to be careful in that section, because I don't want to destroy my shell.
Then a wider spoon, a number three, about maybe 10 millimeters (3/8 in). I'm not forcing anything, because I'm able to take out all that material with the different tools.
When does the cleaning happen?
Later, once the shape is settled. My logic is that I'm not spending time in the beginning, when I'm establishing the overall shape. Sometimes you change your mind. If you took away too much material and spent a lot of hours on cleaning, it's really frustrating to go back and redo stuff.
Again, that is just my opinion. You don't have to do it that way. Once I establish the overall shape, I go back and clean it. Later on I spend a little more time, get really close with my face, and make sure it's all clean. Lesson 10 calls the first rough stage boasting.
What keeps a compressor out of the studio?
Ask me why I don't use a compressor, and first of all, it's too noisy. Second, I do have a compressor in my machine shop, which is my garage.
This studio I'm trying to keep as clean as possible. There are almost no machines, except a band saw, the scroll saw and my sharpening system. You could use a compressor. No problem.
Noise still gets in from outside. In part 1 a big truck was going around my subdivision, and I asked you to excuse the noise.
Where do the tools go after each use?
Back in their drawers. I really don't like to keep my tools on the workbench, because when I get too many tools out, I get lost. Sometimes you're looking for the tool. In every drawer I have the tool, and I know where to go.

Where did the leaf stand at the end of lesson 11?
Overall, super happy. I redrew the shape with the pencil and added two separations, easily, with the number one double bevel. That meant really careful blending right underneath, from all of the points.
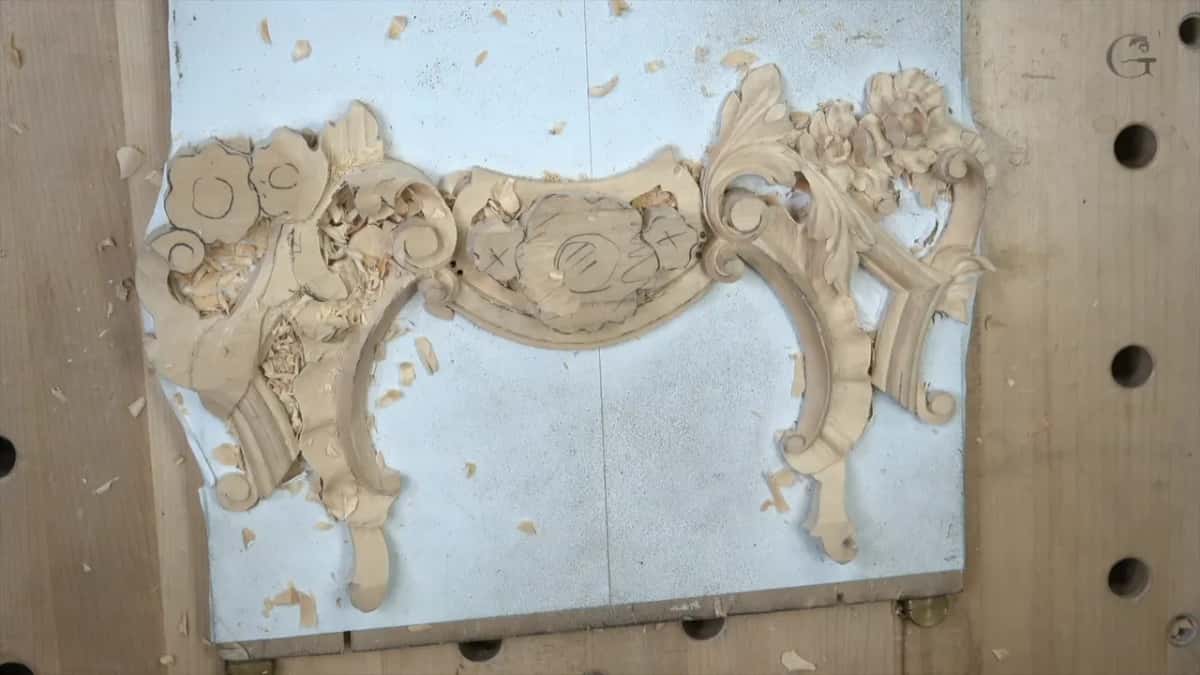
Not much time went on detail, because of the show, but look how it looks overall from above. I'm happy with that curl and with those two guys, and I can really see that this line goes on and continues on that side. One spot needed to be smoother.

Then I said, why don't I attack that right away? A small number five sloped it almost to the ground, and it has to wrap right on top of the molding. The undercut there comes later, and there's no reason to spend time on it now. About two millimeters (about 5/64 in) were still left to remove.
This is lesson 11 of the course, with lesson 10 before it and lesson 12 next.
You have an eye to place and a pipe to raise after it. Access to the school gives you every lesson of this relief panel, in order.
How it's done
- Place the eye at the leaf crossing. That spot gets the drop shape. I did not clean it yet; I went right inside with the 1 mm tool, upside down, and left the cleaning for later.
- Sink a hollow on each side of the pipe. A number 11 at 5 mm (about 3/16 in) ran down one side, and the second pass on the other side was shallower. Then another concave, shallower again.
- Round the pipe with chamfer cuts. Both sides, a bit at a time, and a knife works for it too. Where a raised part blocked a straight tool, I used a number three back bent.
- Clean beside it without undercutting the pipe. The same number 11 cleaned out the mess, then I blended it. An undercut there would look unnatural.
- Keep the intersection line highest. Nothing next to it may stand higher, so after a half millimeter undercut below it, blend the area again.
Frequently asked questions
What does an acanthus eye usually look like?
Usually a water drop. That is how I described it on the Byzantine leaf, and in Venice Room 53 I said every eye is supposed to look like one. Mine on this floral panel has that shape, right where the leaves cross.
Why carve the pipe as a big convex?
On this panel the eye came first, and because of it I wanted a really convex pipe under the flower. Flat would look too dull and not three-dimensional. So the ridge went even lower, since there was plenty of material.
Can you shape a pipe with a knife?
A knife can do the same operation with chamfers, a few at a time, on both sides. On this pipe I went on with my back bent, because a straight tool was in my way. Its goose neck kept me off the raised part.
What to carve next